| 외국 어느사이트에서 퍼왔습니다. 베가스를 사용한 크로마키 팁 정도 될려나요;; 게임속의 전투기 조종석에 내모습을 넣어보는 겁니다. 해석은 알아서들...대충 그림만 보셔도 ㅋ Chroma Keying a Real Person in a Virtual Cockpit from Russell Boyd on Vimeo. Here's how I did it: 1. First, Frap the aircraft (a Spitfire MkIX in this case) in flight with a steady camera view. Note the angle of the pilot in relation to the camera and the light source (the sun). 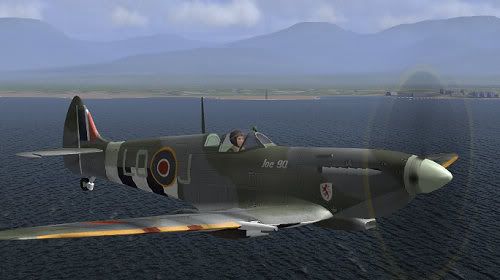 2. Then, set up your camera for the human pilot. I didn't spend a lot of time on this as I knew the end result was going to be very low res. If you want a larger image you will need to pay a lot more attention to the lighting and use an even coloured backdrop. Heck, you might even want to iron the sheet you use to get rid of the creases, lol. I just used my Kodak Easyshare C875 which does a not too bad job at 30fps sVGA. Sufficient for this experiment. 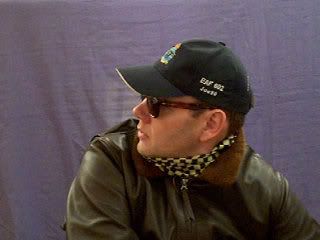 3. You then need to replace the blue screen (erm, well, slightly wrinkled turquoise sheet) with an empty cockpit. Use a stationary Spitfire IX clip. Again, the setup is not too important as the cockpit shot is going to be very low res, just as long as it looks pretty close. 4. Composite these two videos in Vegas using the Chroma Keyer. Sony's Chromo Keyer is very flexible and you can hide a multitude of sins in the raw footage by adjusting the settings. Once the background disappears, adjust the crop and rotation until the pilot looks the right size in the right place. Adjust the Saturation (HSL filter) and Brightness and Contrast to match the pilot video with the game footage and render this out. 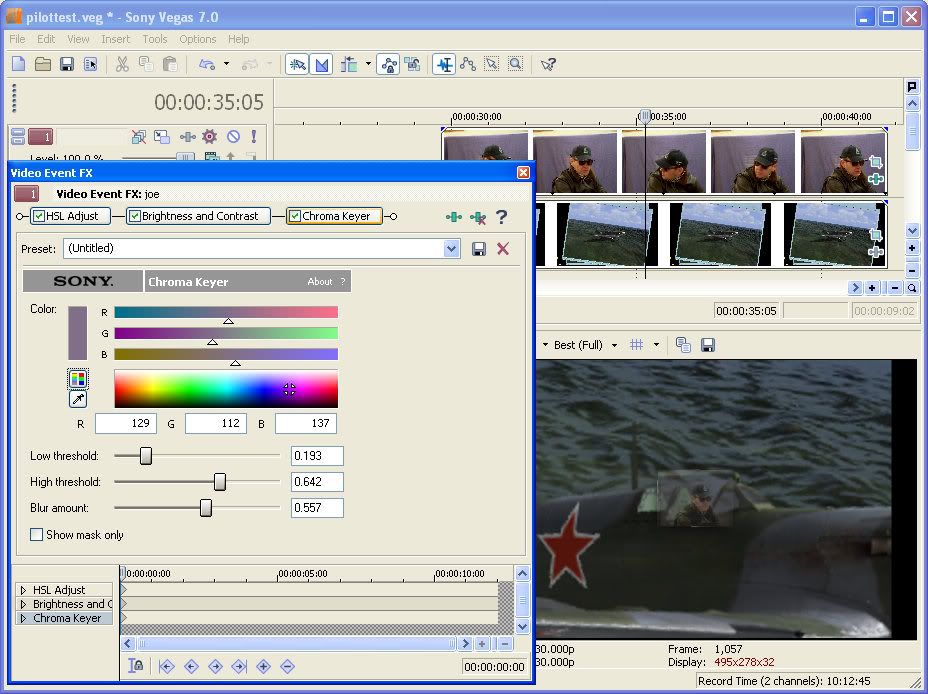 5. Now, you have to replace the cockpit in the actual Spitfire shot with green. This gets a little tricky, so bear with me. First, take a screenshot of the Spitfire in flight and copy it into Paint Shop Pro (or whatever graphics program you use). Colour in the inside with green, and outside the cockpit frame with blue. 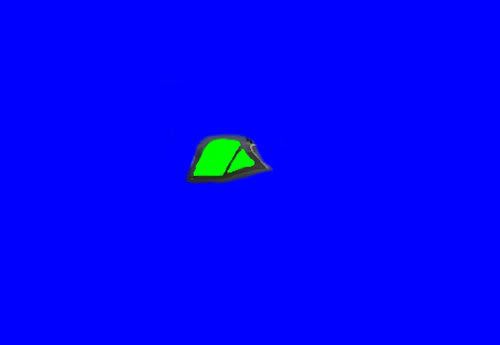 6. Composite this image with the original Spitfire shot. This time, Chroma Key out the blue, and render out the video clip. 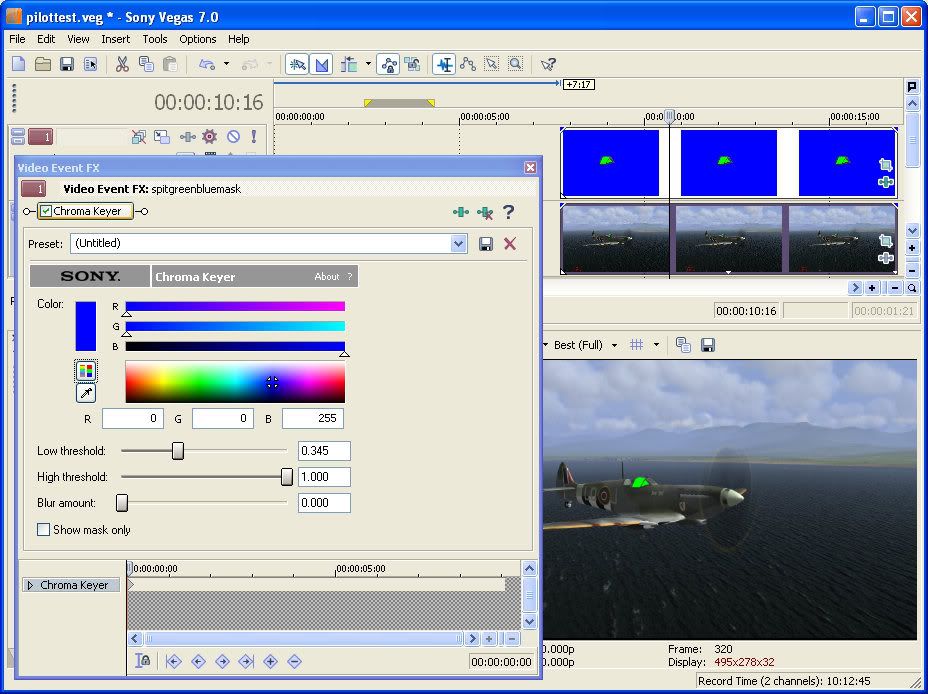 7. Almost there! Now composite the clip you just made with the clip you made in step 4, this time chroma keying out the green. Play around with the size and position and bob’s your auntie! 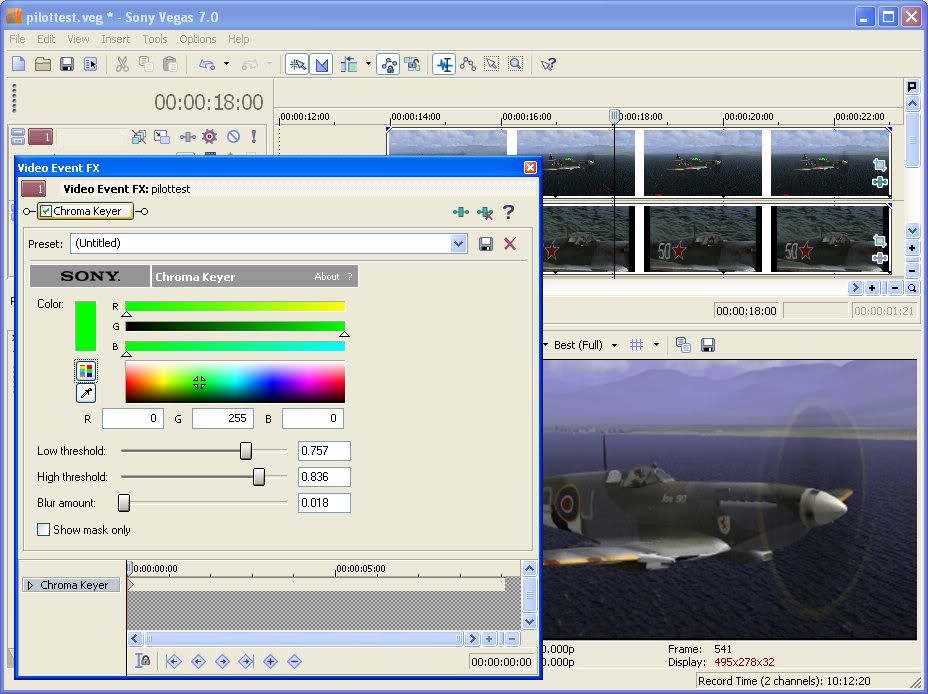 8. Here's a still from the video, a little closer than I would have liked for quality. Adding the final filters to the movie and some camera shake again disguises some minor blips. SFX and music are the final distractions so the viewer doesn't look too close! It's all sleight of hand, lol. 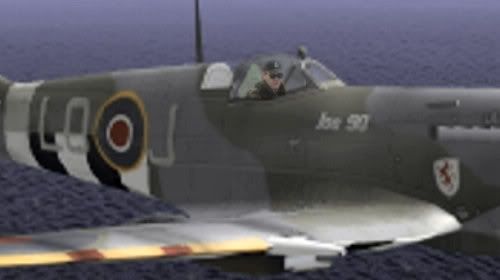 |
'TIp&Tech > 동영상' 카테고리의 다른 글
| [Premiere] Premiere Pro에 대하여 (0) | 2008.11.02 |
|---|---|
| [베가스] 마스크효과내기! 부분확대도 OK~ (0) | 2008.10.25 |
| [베가스] 자르기 & Lens Flare 효과 등 (0) | 2008.10.25 |